
After making sourdough for the last 6 years, I landed on this recipe, which incorporates freshly milled grains (yay B vitamins!) and is super easy! It is a 3 day process of love, but once you get the routine down it is very simple. Before going to bed at night I feed my sourdough starter as follows – in a clean jar combine 60 grams of starter, 60 grams of freshly milled hard white wheat flour and 60 grams of filtered water. In the morning, depending on the temperature in your home, your starter should be doubled and ready to use (we mark the jar with a rubber band prior to rising so we can monitor).

When we measure grams, we use a kitchen scale. Let’s dive into the recipe!
Ingredients:
- 500 grams Freshly milled hard white wheat
- 425 grams water
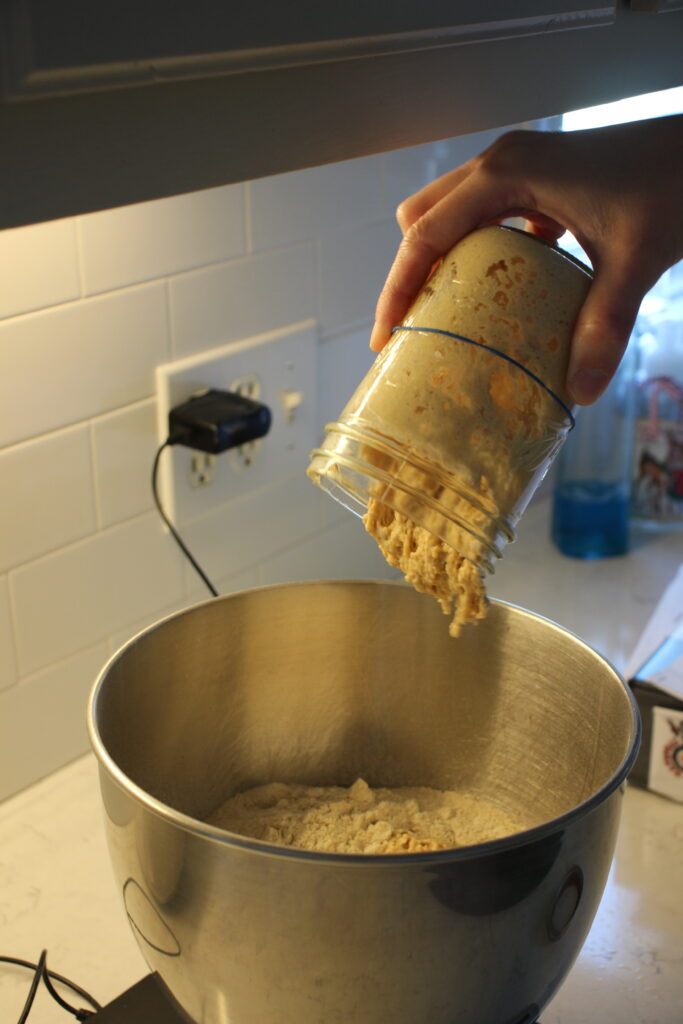
- 100 grams Active sourdough starter
- 11 grams salt
Steps:
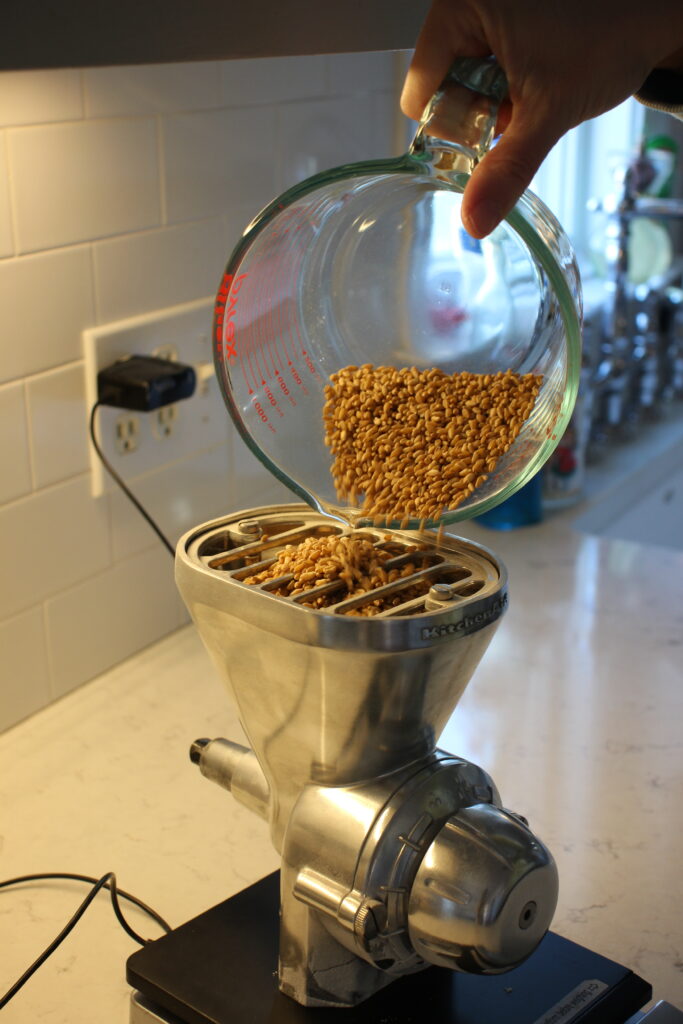
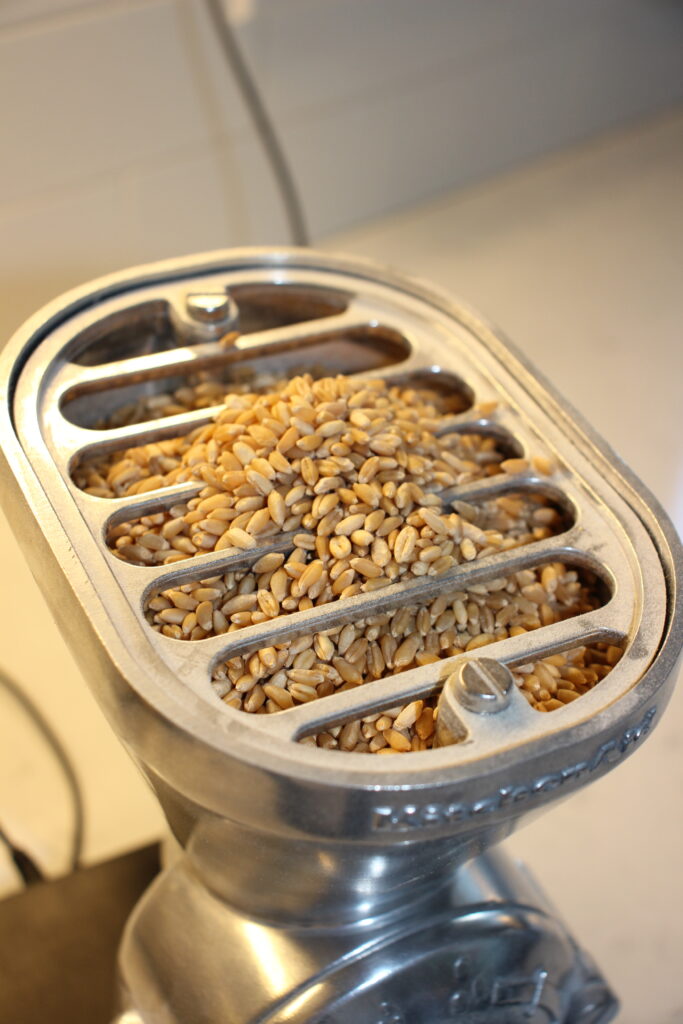
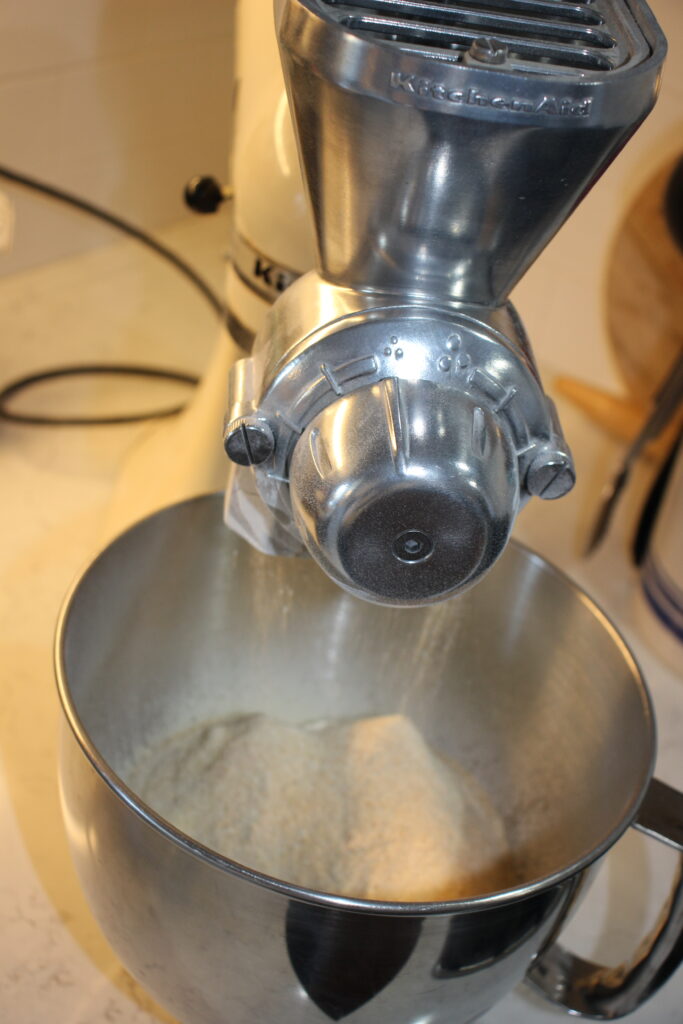
• Mill 500 grams of fresh milled hard white wheat into Kitchen Aid mixing bowl.
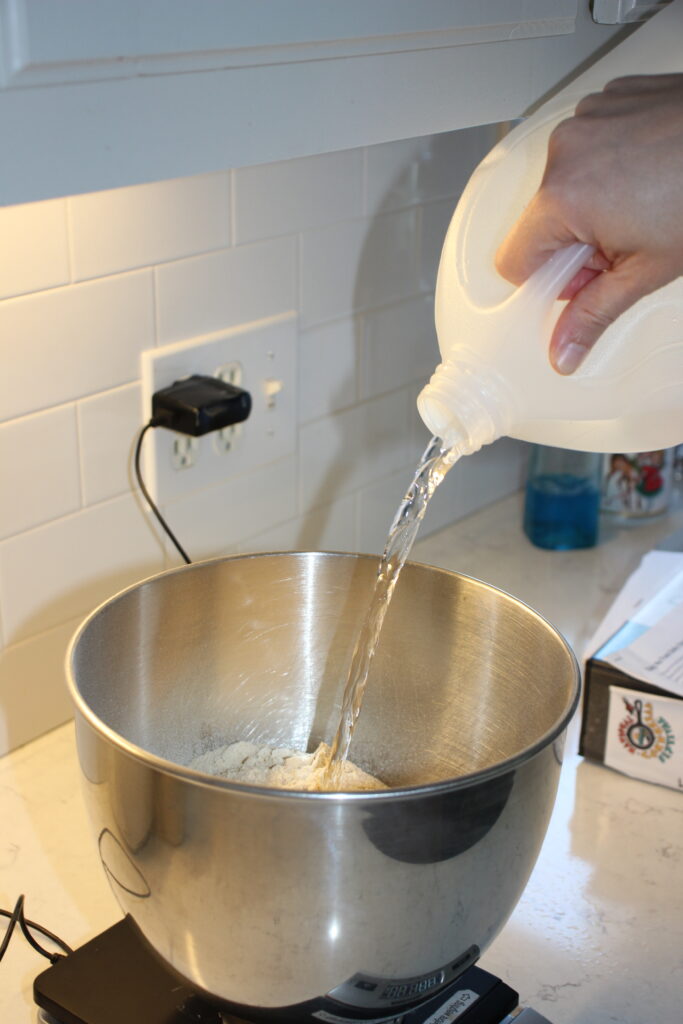
- Add 425 grams of filtered water to your bowl.
- Add 100 grams of active sourdough starter to your bowl.
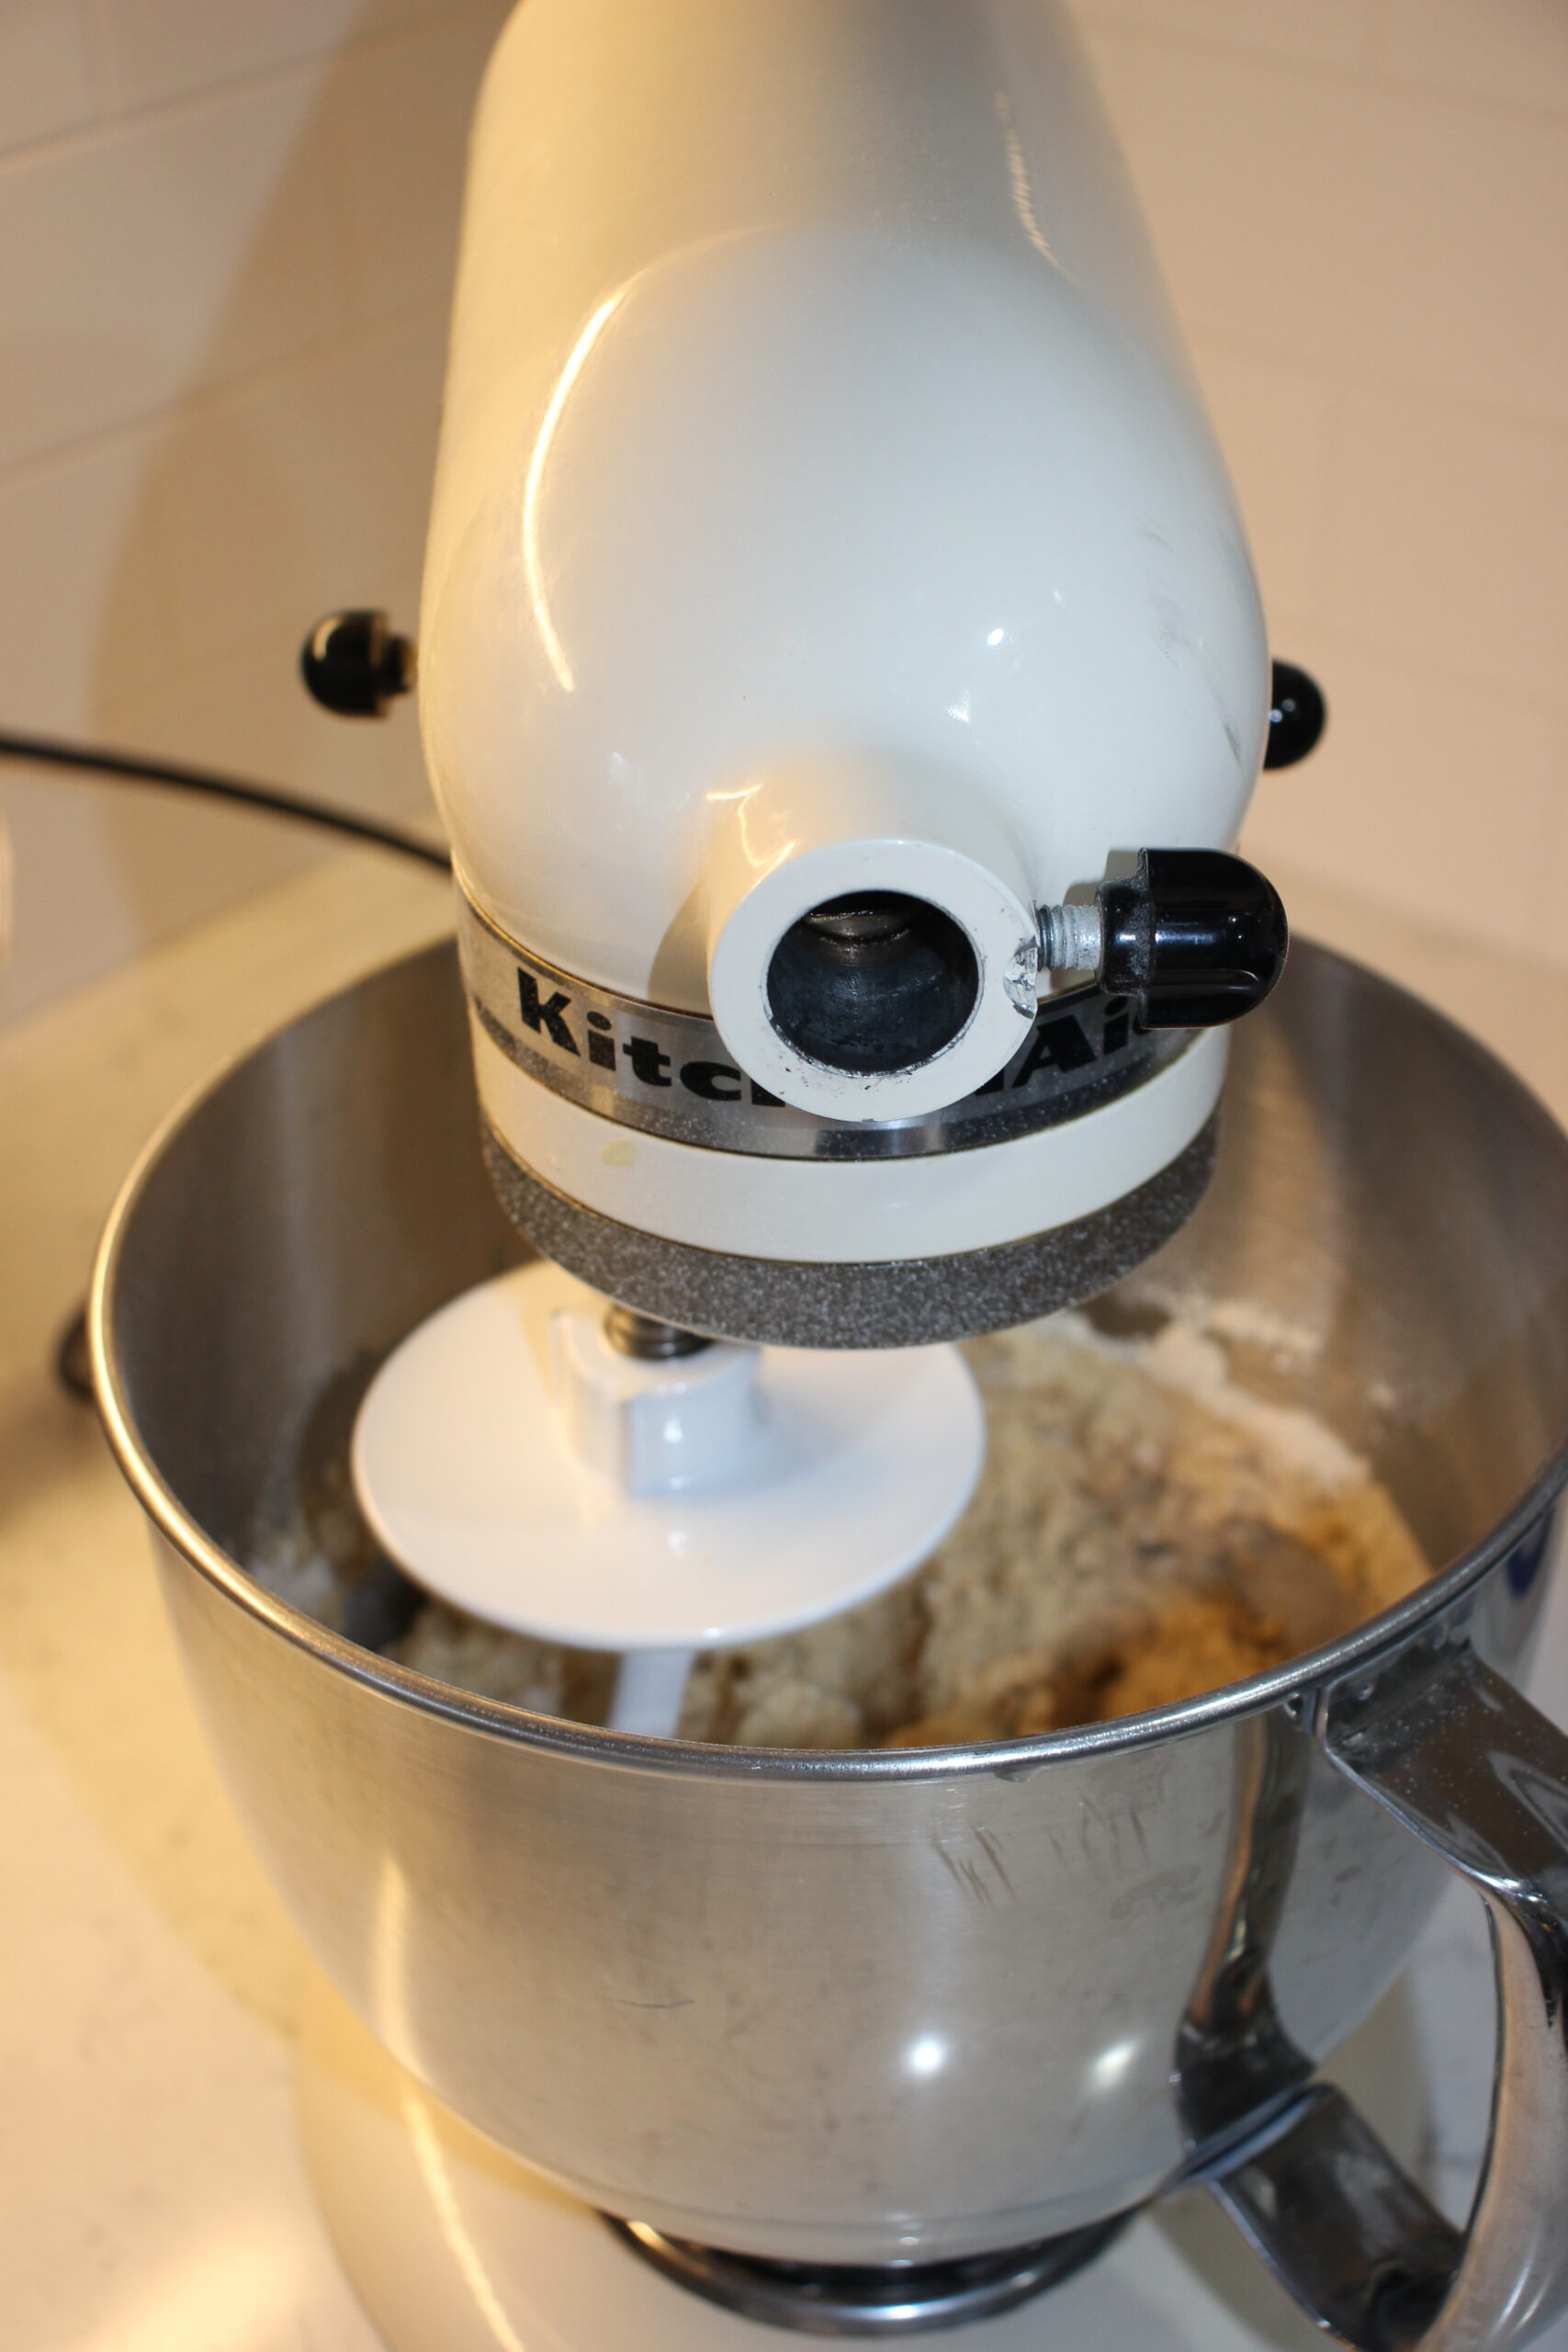
- Mix on low speed in the Kitchen Aid mixer with dough hook attachment until fully incorporated into a rough, shaggy dough.
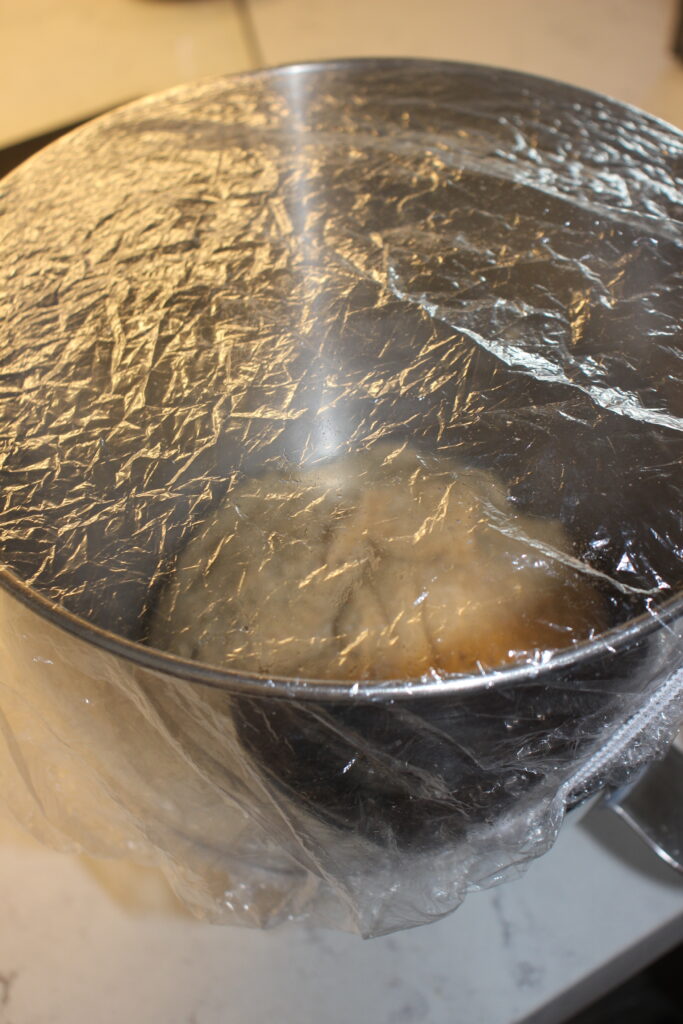
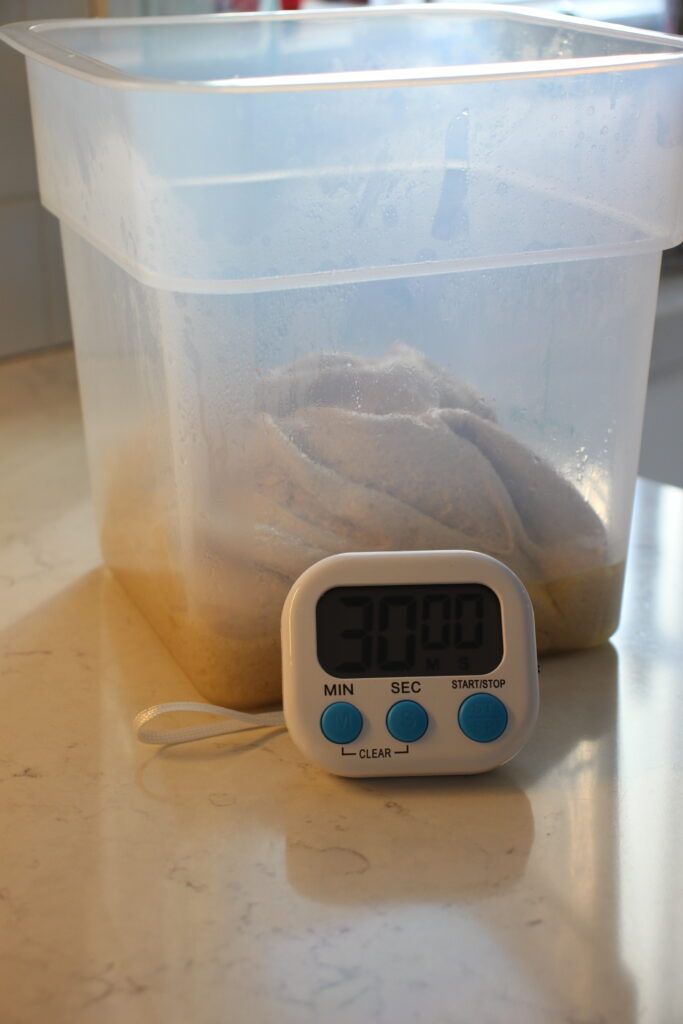
- Cover the bowl (I like to use disposable shower caps, as these fit perfectly) and let the dough rest for 20-30 minutes. You can also use a sourdough towel such as this one from a small business Etsy shop. www.etsy.com/listing/4452036014/shhh-im-fermenting-sourdough-bread
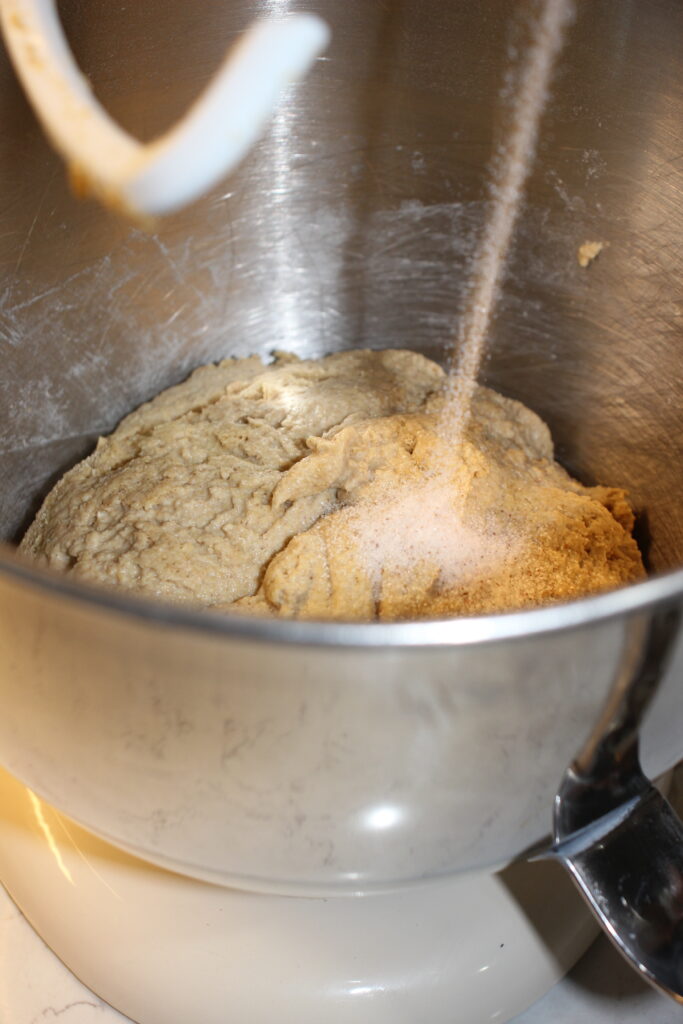
- After the rest period, add 11 grams of salt (I prefer Redmonds fine salt) and mix on medium speed until the dough reaches the windowpane stage – this takes my dough about 10 minutes. Be mindful to watch your Kitchen Aid mixer…they have been known to dance across the counter!
- Once the dough has reached windowpane (it can stretch thin without tearing) – it is time to remove the dough from the mixer and place into an oiled container. Allow the dough to rest for 15 minutes.

- After resting, perform the first set of stretch and folds. Then set a timer for 30 minutes.
- After the next rest, perform the final set of stretch and folds.
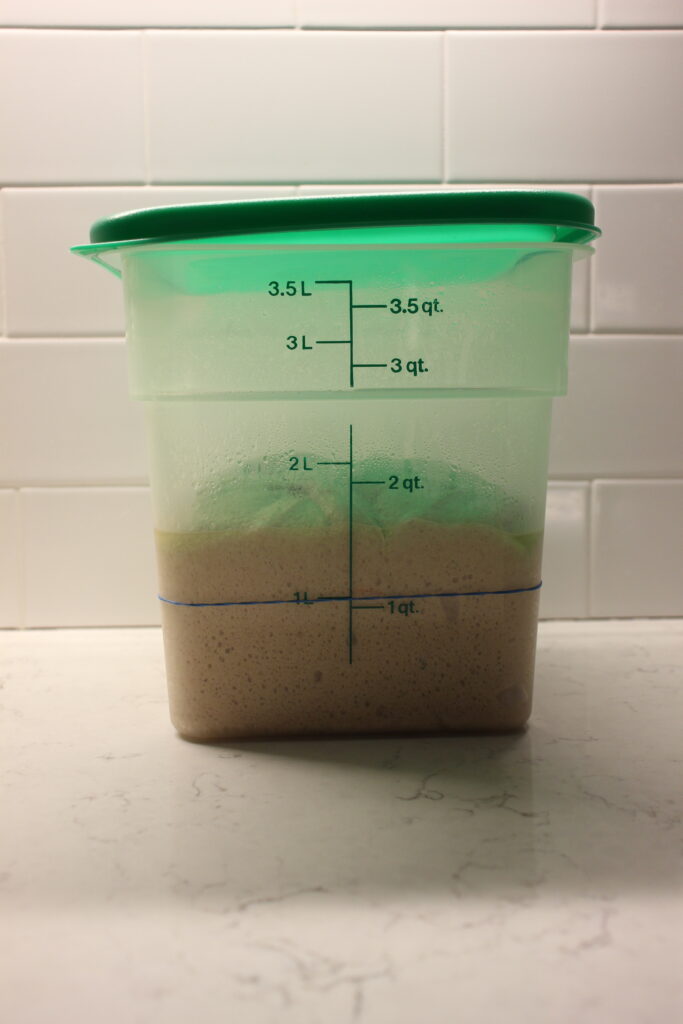
- Now it is time to wait – allow the dough to bulk ferment at room temperature until it rises about 70% – usually if the temperature is right, this will be in afternoon to early evening (if I started this process in the morning).
- Once the dough has finished rising, dump it onto a clean countertop and let it rest for 15 minutes.
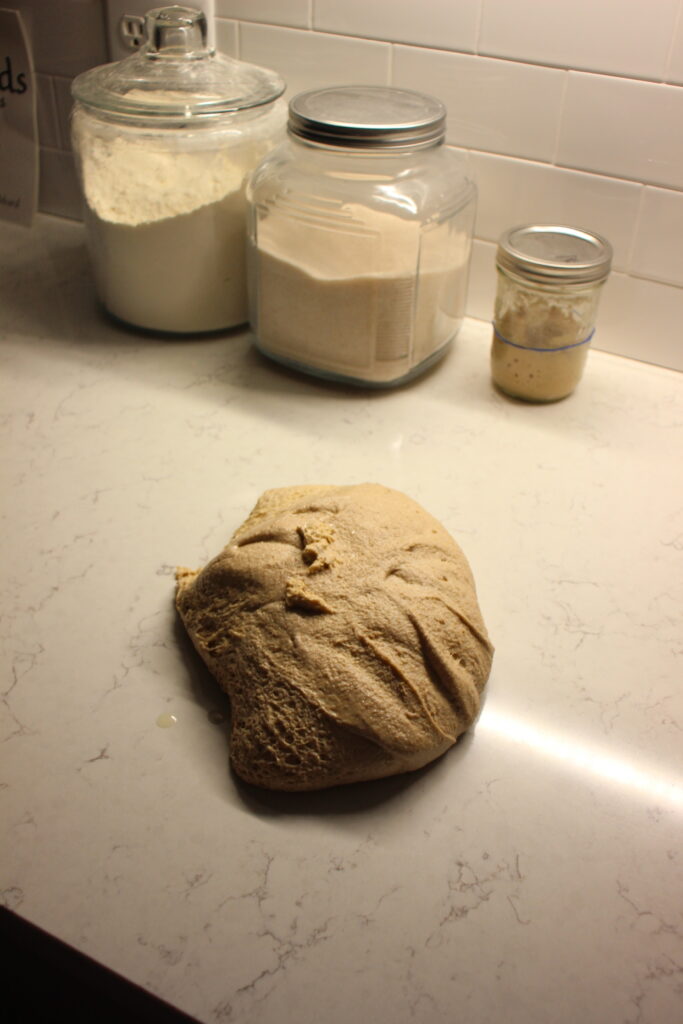
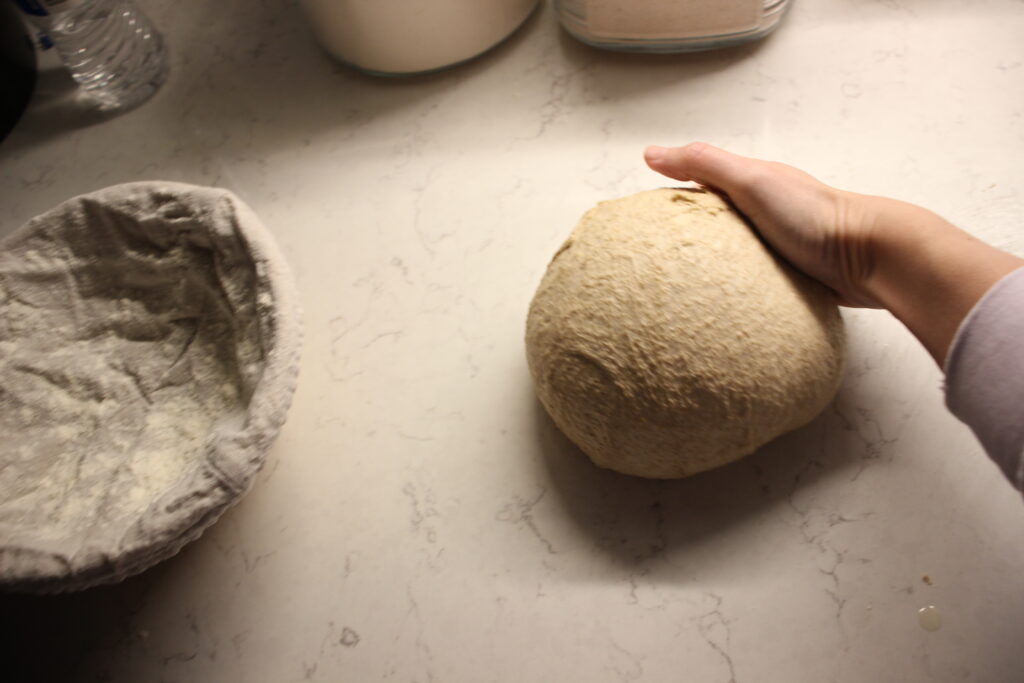
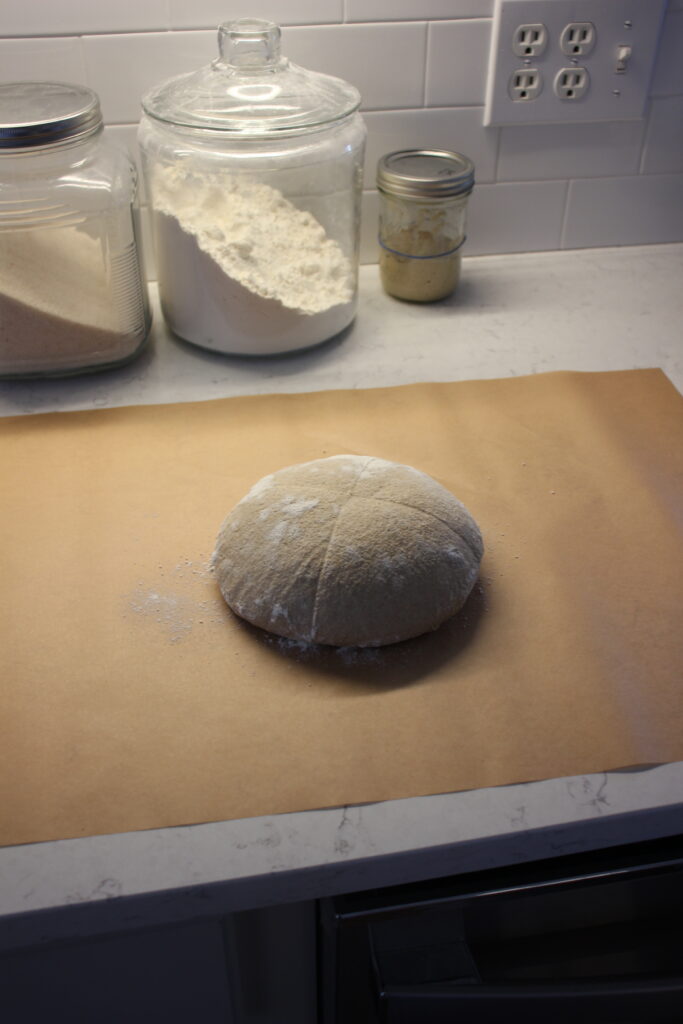
- After the bench rest, it is time to shape the dough into a round loaf – by pushing and pulling. No flour on the counter is needed. Flip the loaf upside down into a lightly floured banneton basket – I like to use a bench scraper to help this process.
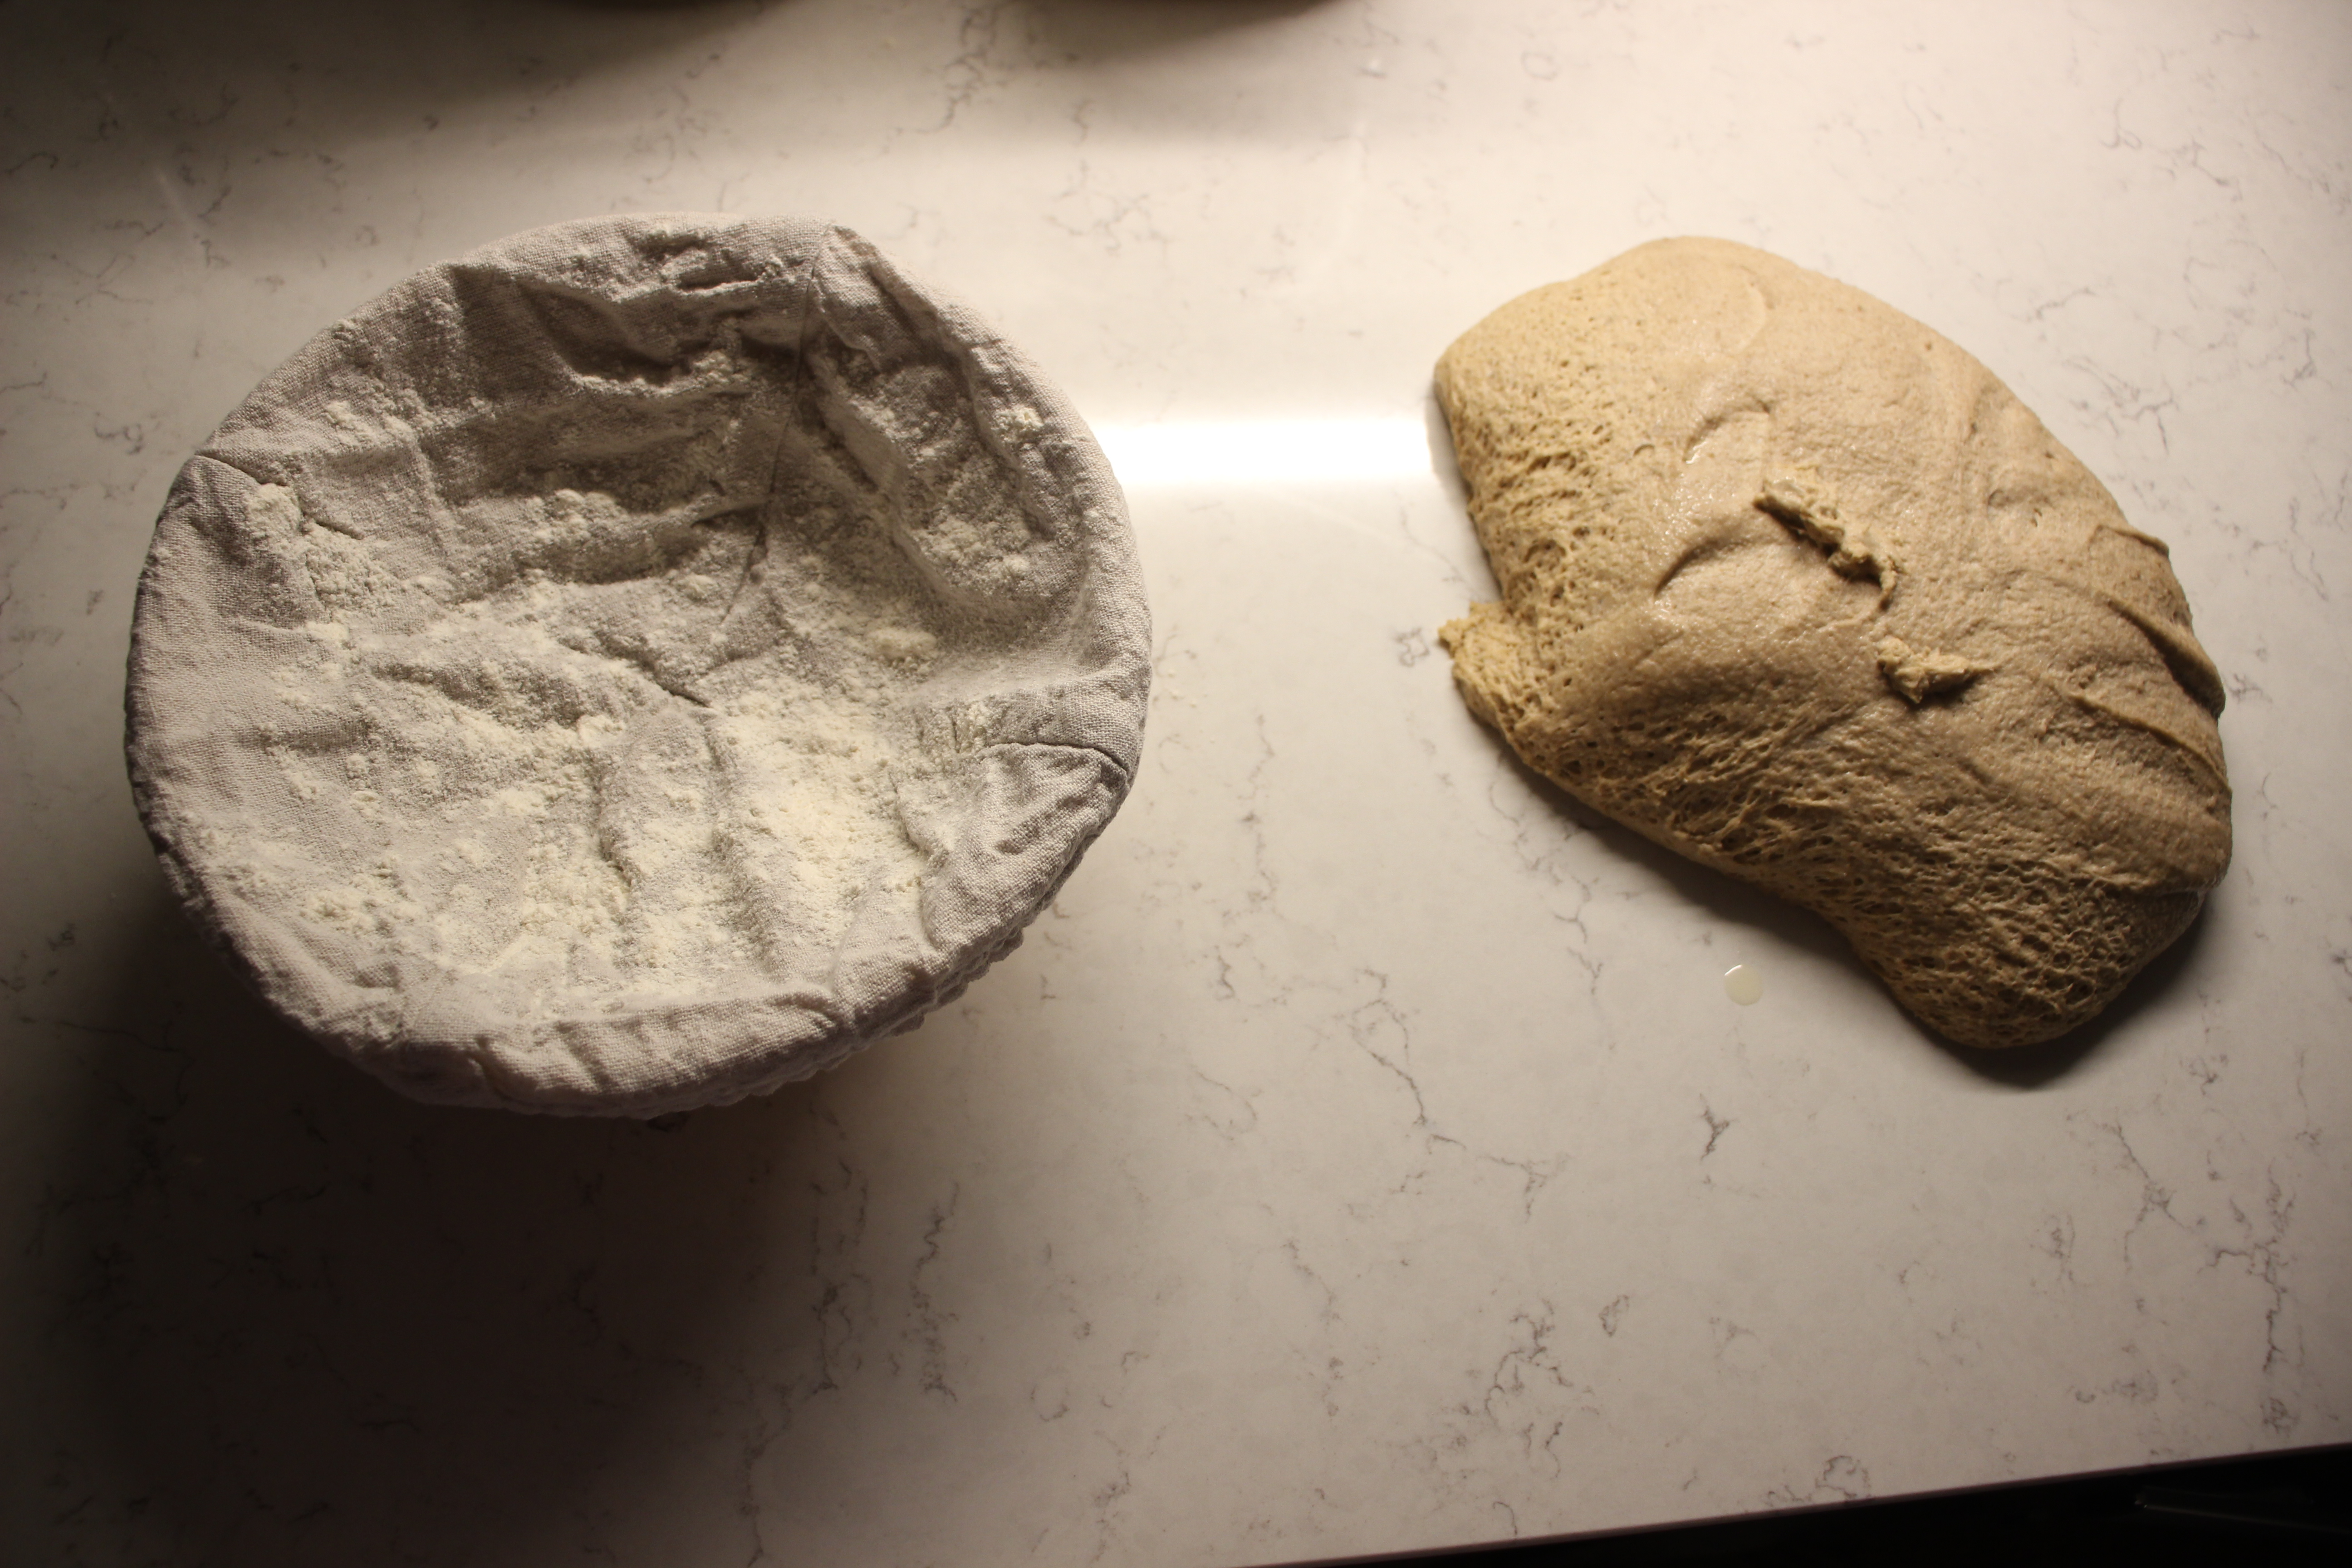
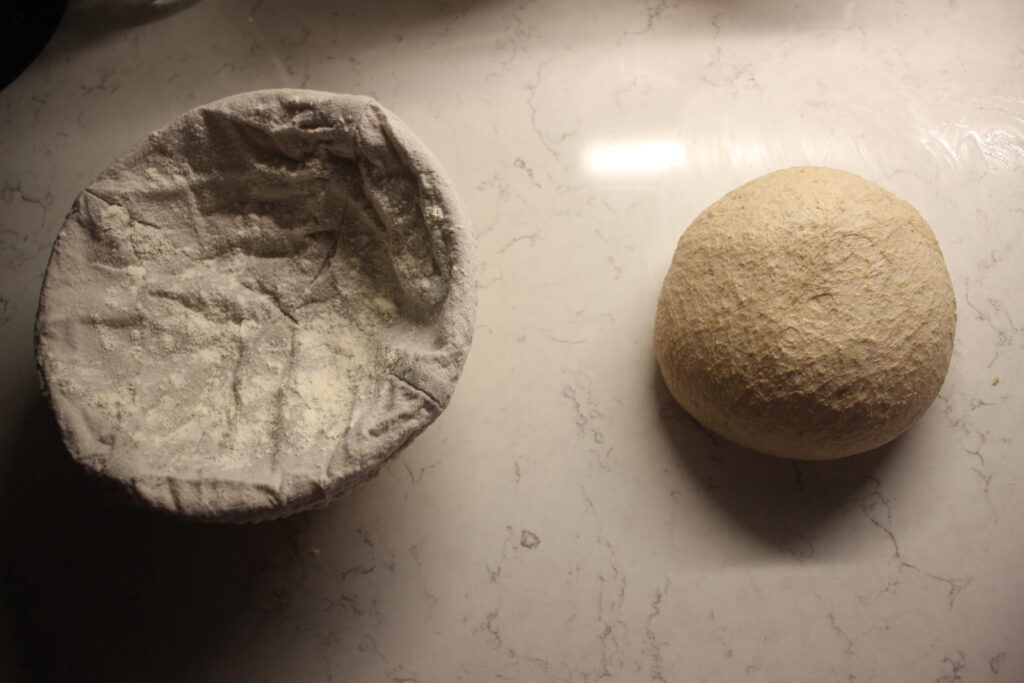
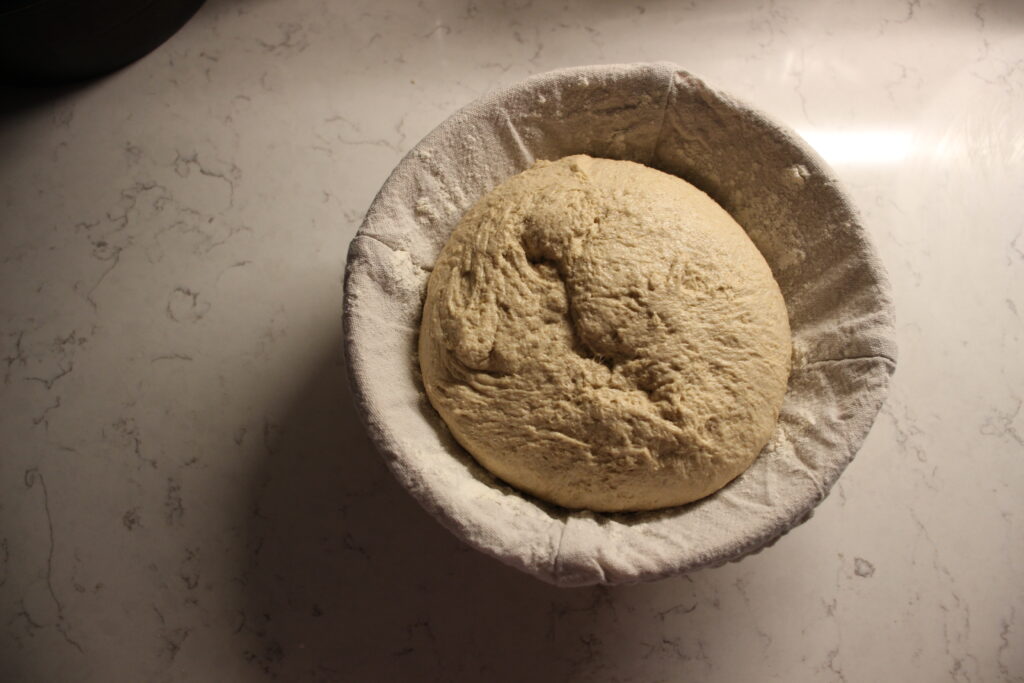
- Let the shaped dough rest at room temperature for 30 minutes and then cover the banneton basket with a disposable shower cap and pop it in the fridge overnight for cold fermentation.
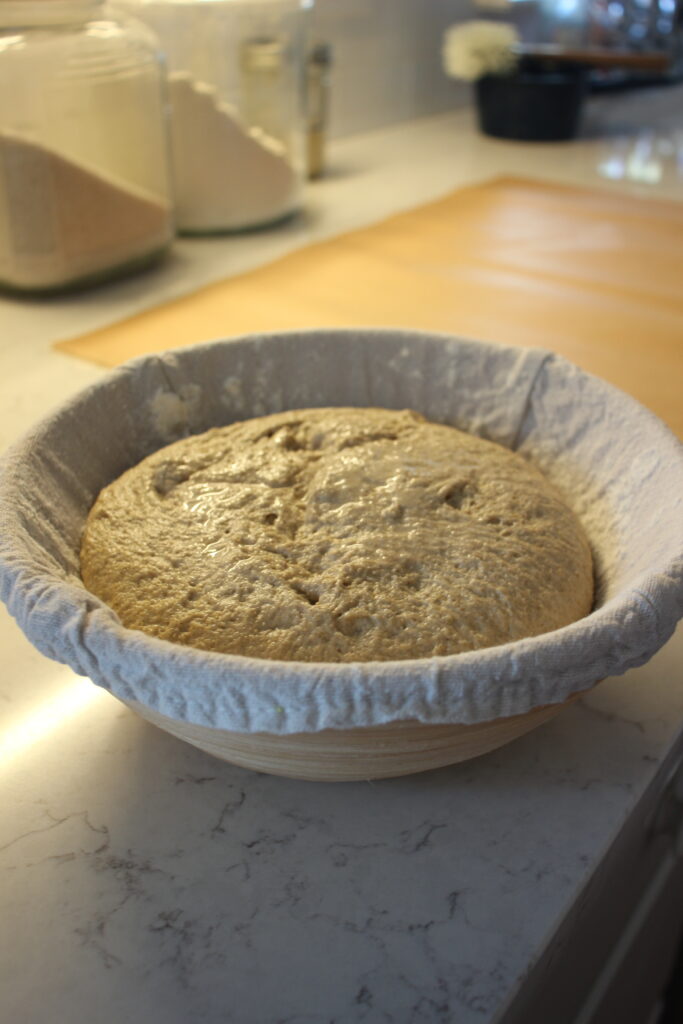
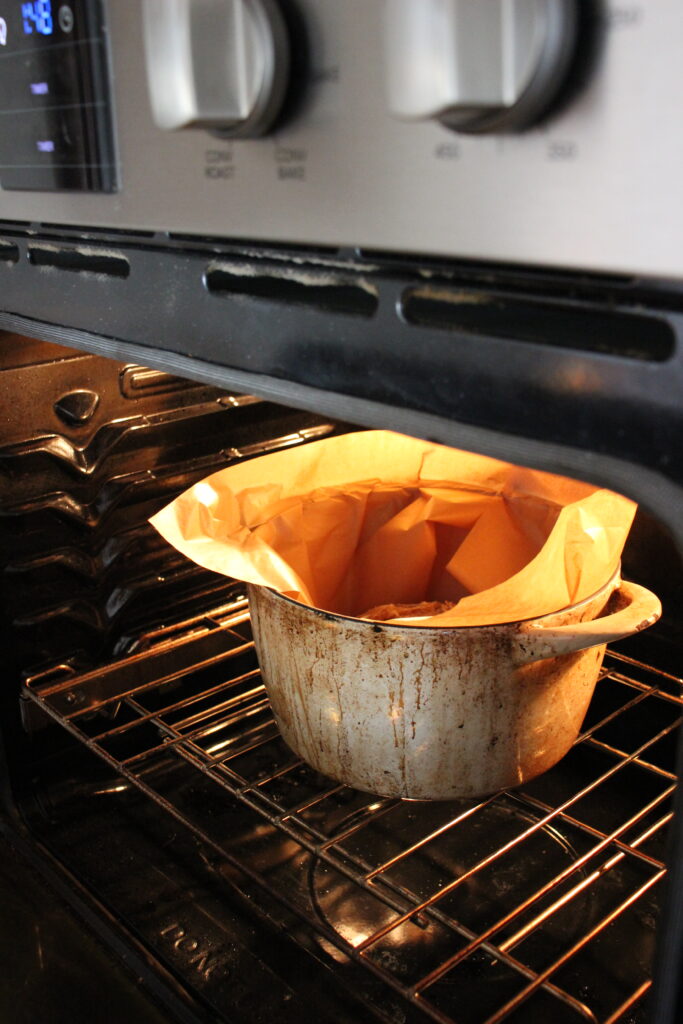
- The following morning, preheat your oven to 450° with a dutch oven with lid inside.
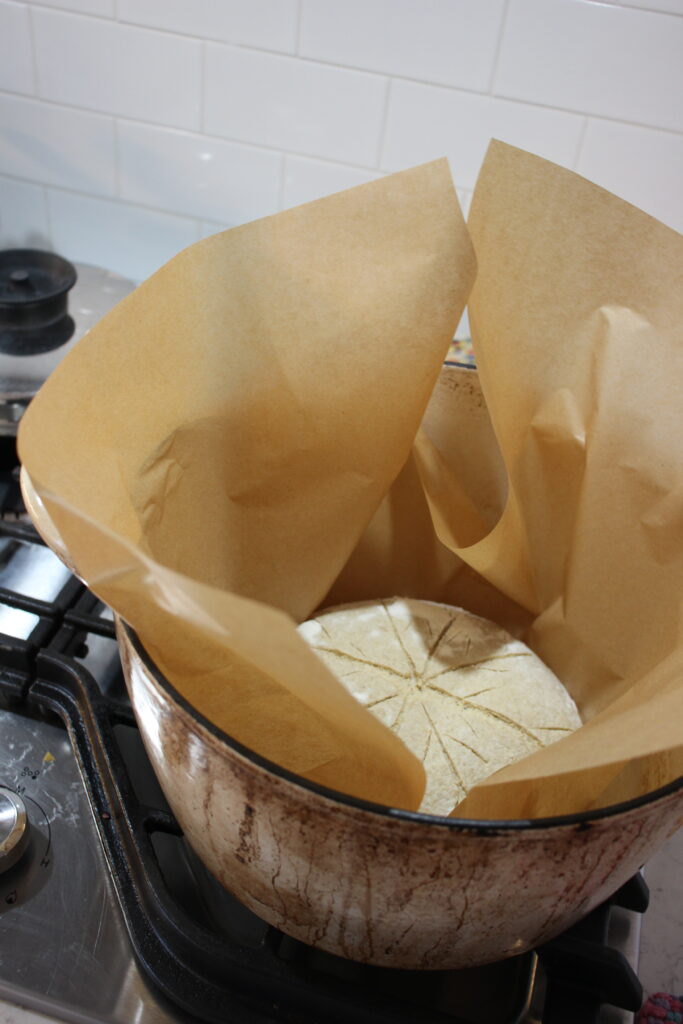
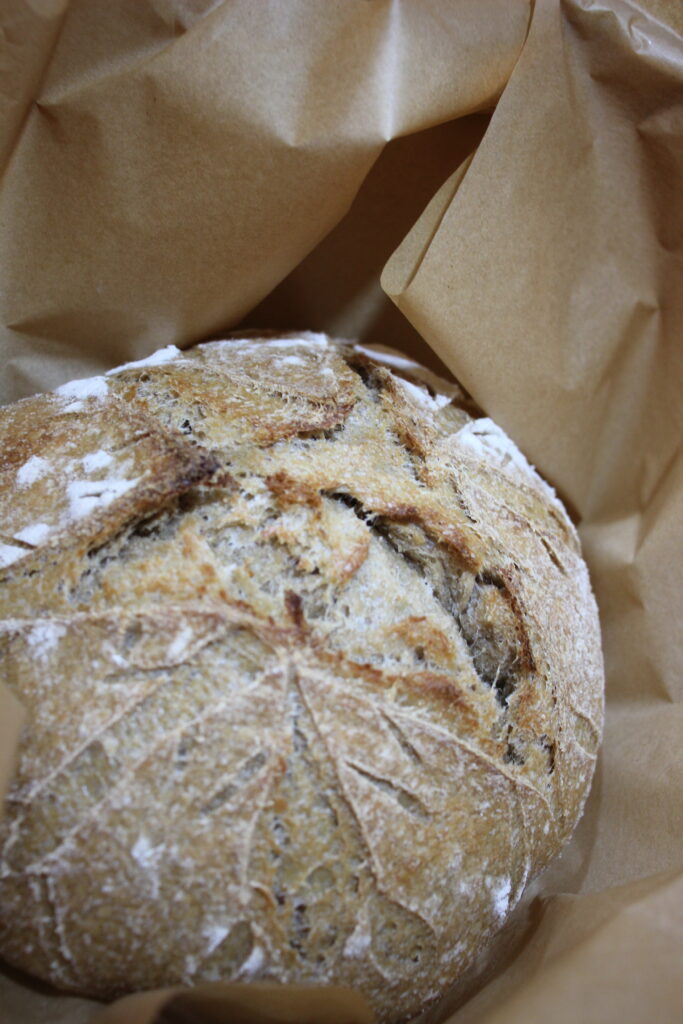
- Once the oven is heated, remove your loaf from the fridge and dump out gently onto a parchment paper. You can score your bread to your liking, then carefully put it into the warmed dutch oven and put the lid on.
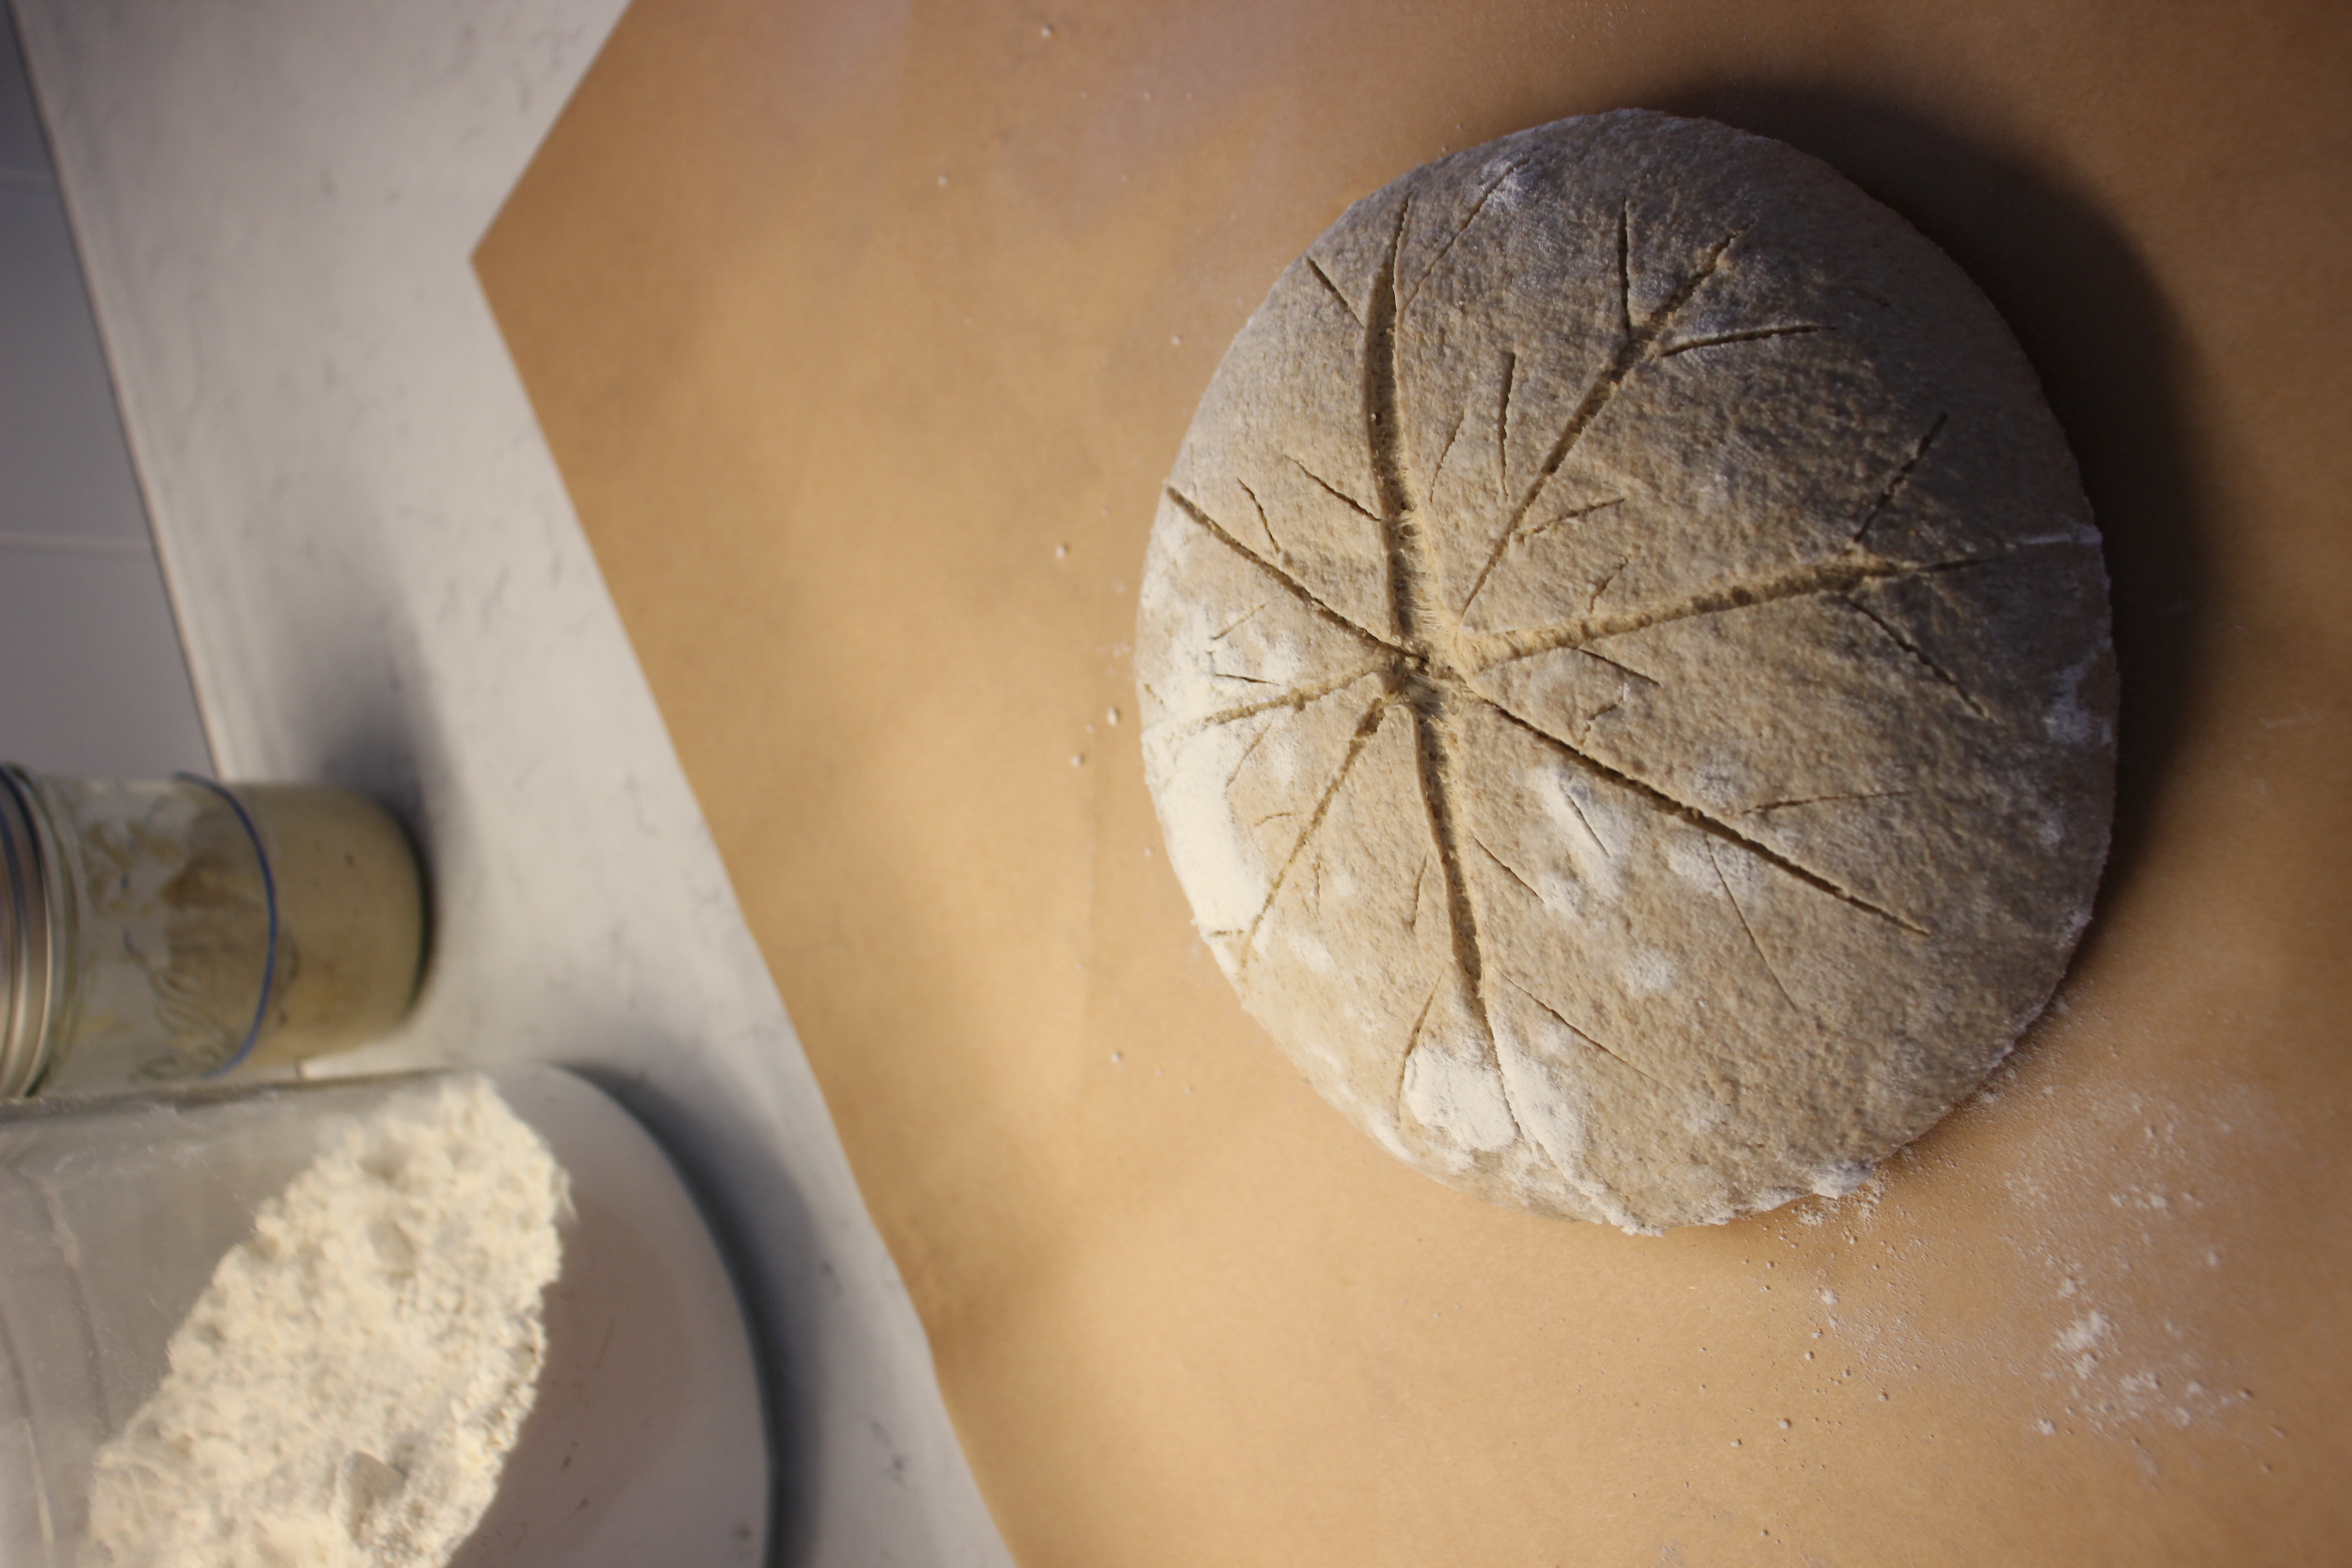
I made a snowflake since it’s winter!
- Bake at 450° for 20 minutes, then remove the lid and bake at 425° for another 20 minutes.
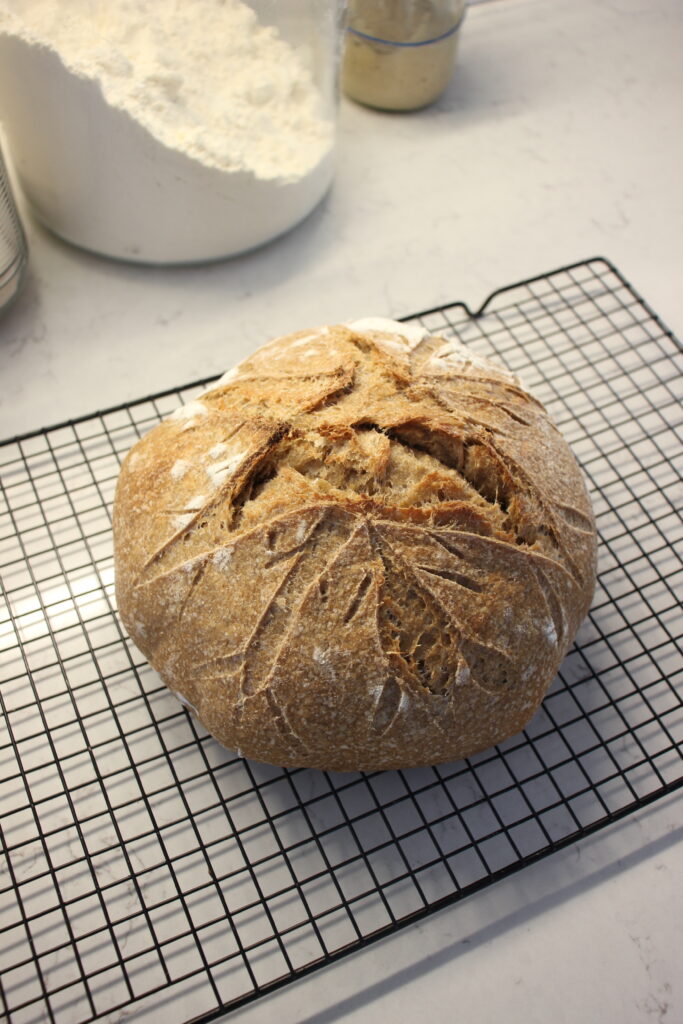
- Remove dutch oven carefully from oven. Then remove the parchment paper carefully and set on a cooling rack.
- Then let your beautiful sourdough loaf cool completely before slicing. This allows for the crumb to set properly. Linking the slicer we love – it helps cut the slices so evenly and easily.
This concludes our recipe on how to make a beautiful sourdough loaf using freshly milled flour.